TL;DR:
- Most stair lift failures are caused by battery issues, which are easily fixable.
- Regular maintenance and timely battery replacement ensure safety and reliable operation.
- Professional servicing helps prevent unexpected breakdowns and prolongs lift lifespan.
Imagine reaching the bottom of the stairs, pressing the call button on your stair lift, and nothing happens. No hum, no movement, just silence. For anyone who relies on a stair lift daily, this moment is more than inconvenient. It can feel alarming, even dangerous, particularly if you or a loved one is already at the foot of the stairs and struggling. The good news is that most stair lift failures trace back to a single, very fixable cause: the battery. This guide walks you through everything you need to know about stair lift battery replacement and maintenance, in a way that is affordable, practical, and safe.
Table of Contents
- Understanding stair lift batteries: Types and basics
- What you need: Tools, supplies, and safety essentials
- Step-by-step: Replacing a stair lift battery
- Afterwards: Verifying, maintaining and saving on costs
- Why battery care is the hidden key to stair lift reliability and safety
- Reliable stair lift help when you need it
- Frequently asked questions
Key Takeaways
| Point | Details |
|---|---|
| Choose the right battery | Most stair lifts use sealed lead-acid types, but some newer models require lithium-ion. |
| Safety first | Always isolate power and use the correct tools to avoid injury or warranty issues. |
| Proactive maintenance saves money | Routine cleaning and service plans can extend battery life and reduce emergency costs. |
| DIY vs. professional help | DIY battery swaps cost less but can risk safety and warranty; pros offer peace of mind. |
Understanding stair lift batteries: Types and basics
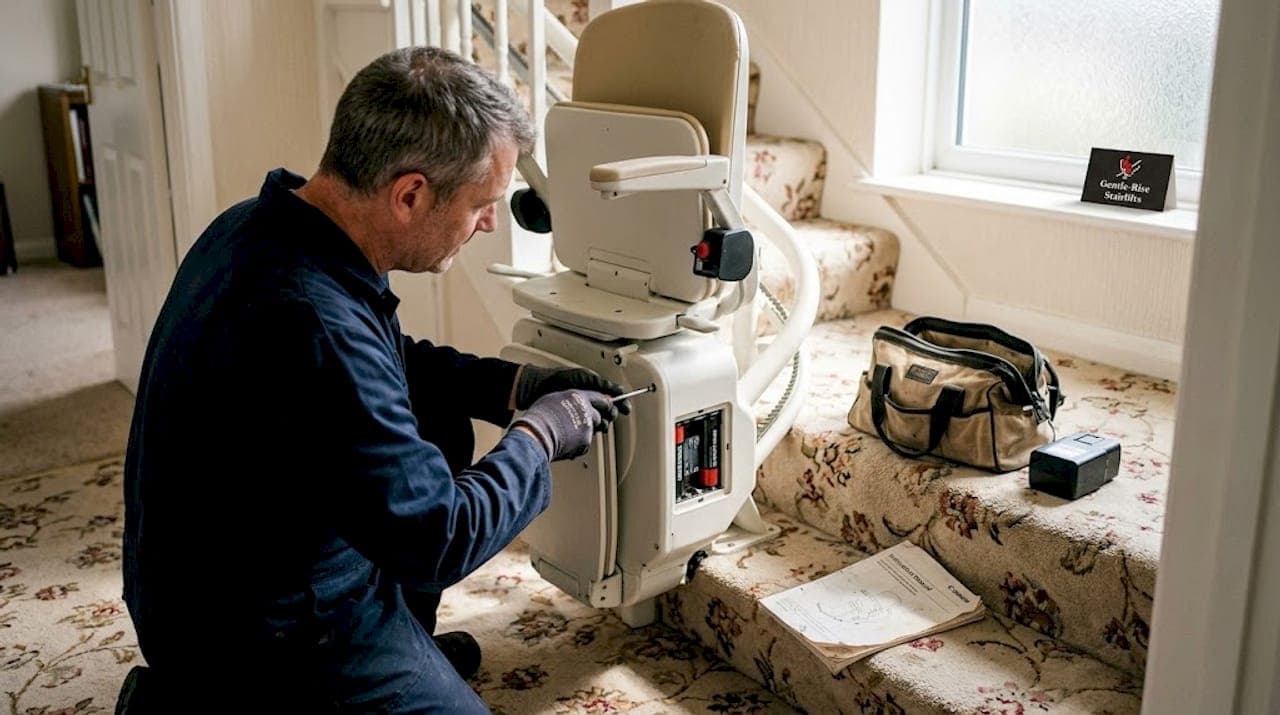
Most people assume their stair lift runs directly from the mains electricity supply. In fact, modern stair lifts run on rechargeable batteries, which charge continuously via a rail-mounted charging strip whenever the seat rests at its parking position. This design is intentional. It means the lift keeps working during a power cut, provided the batteries hold enough charge.
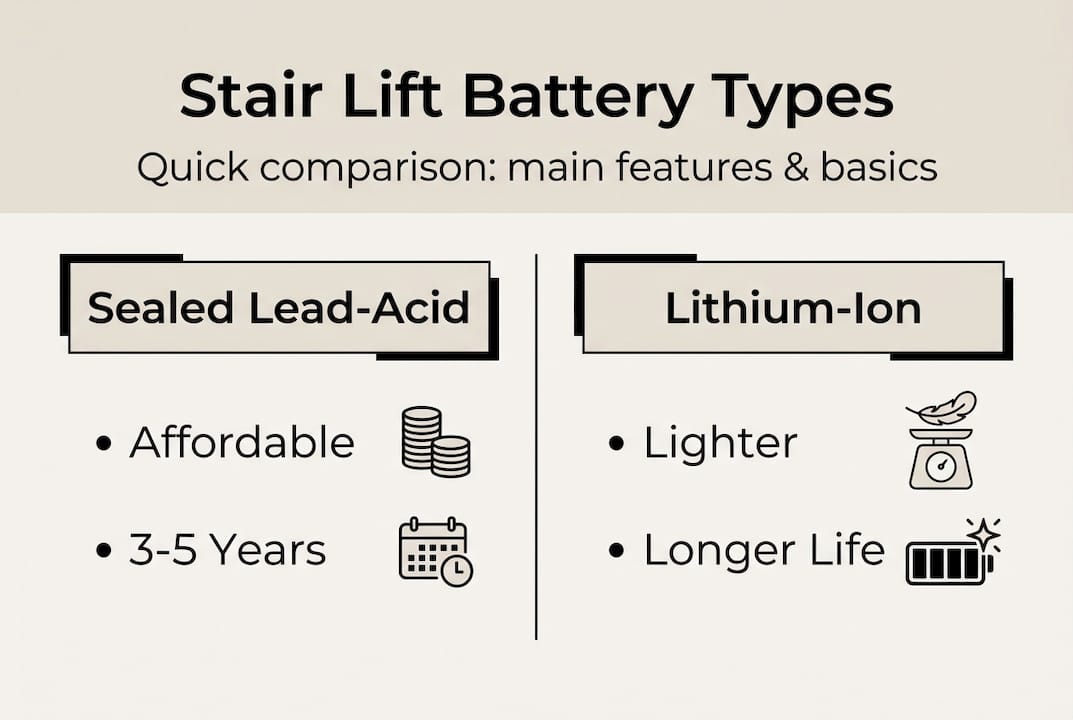
Stairlift batteries are typically rechargeable sealed lead-acid (SLA) types, usually two 12V batteries providing 24V power, located in the chair or carriage. Newer models may use lithium-ion, which are lighter and retain charge more efficiently over time.
Here is a quick comparison of the two main battery types found in UK stair lifts:
| Feature | Sealed lead-acid (SLA) | Lithium-ion |
|---|---|---|
| Typical cost | £30 to £80 per battery | £80 to £200 per battery |
| Lifespan | 3 to 5 years | 5 to 8 years |
| Weight | Heavier | Lighter |
| Availability | Widely available | Model-specific |
| Charge retention | Good | Excellent |
The battery type fitted to your lift directly affects running costs, how often you will need to replace them, and how the lift performs in cooler conditions. Older lifts almost always use SLA batteries, while more recent complete UK stairlift guide models increasingly favour lithium-ion technology.
Knowing the early signs of battery decline can save you from a sudden failure. Watch out for these warning signals:
- The lift moves more slowly than usual, especially on the return journey
- The battery indicator light flashes or stays red even after a full overnight charge
- The lift stops mid-rail or hesitates before starting
- You notice a faint sulphurous or plastic smell near the seat unit
- The lift only operates when plugged into the charging point and refuses to travel freely
Battery health matters enormously because a weakening battery does not simply make the lift unreliable. It can also create safety hazards, particularly if the lift stalls on the stairs and leaves a user stranded. Addressing battery issues early keeps both the lift and the person using it safe.
What you need: Tools, supplies, and safety essentials
Preparing properly before you touch any part of a stair lift battery makes the difference between a safe, successful swap and a costly mistake. Whether you are replacing the batteries yourself or supervising a visit from an engineer, knowing what is involved puts you in control.
Here is a comparison of the DIY route versus calling a professional:
| Consideration | DIY replacement | Professional service |
|---|---|---|
| Cost | Lower (parts only) | £100 to £250 including call-out |
| Warranty risk | Possible invalidation | Warranty preserved |
| Safety | Requires care | Fully managed |
| Speed | Depends on skill | Usually same day |
| Confidence level | Variable | High |
DIY replacement risks warranty and safety but saves on labour, which makes it a reasonable option for confident individuals with a compatible, older model. However, if your stair lift is under warranty or uses a newer lithium-ion system, professional service is the wiser choice.
For those who do proceed carefully at home, you will need the following:
- The correct replacement batteries (match voltage, dimensions, and terminal type exactly)
- A flat-head and cross-head screwdriver set
- Insulated gloves and safety glasses
- A soft cloth for cleaning battery terminals
- A multimeter to check voltage before and after replacement
- Zip ties or cable ties to secure new wiring neatly
For guidance on keeping your stair lift in top condition safely, the stairlift maintenance safety resource is worth reading before you begin.
Pro Tip: Never use a battery with a higher voltage than the manufacturer specifies. Fitting a 24V battery where two 12V units are required in series is not the same configuration, and getting this wrong can damage the motor or control board permanently.
Always check your stair lift's user manual before purchasing replacement batteries. If you no longer have the manual, the model number on the underside of the seat or carriage will allow you to source the correct specification from the manufacturer or an approved supplier.
Step-by-step: Replacing a stair lift battery
With everything you need at the ready, here is a clear step-by-step process for changing a stair lift battery yourself or with professional help.
- Park the lift at its charging position. Move the chair to the top or bottom landing, depending on where your charging point is located. This ensures the lift is in its safest resting state before you begin.
- Switch off the mains power. Turn off the wall socket or isolator switch that powers the charging rail. Do not simply leave it on standby. Full isolation prevents accidental activation.
- Remove the seat or access panel. Most stair lift batteries sit beneath the seat cushion or behind a side panel on the carriage. Consult your manual for the exact location. Remove screws carefully and keep them together.
- Photograph the wiring before disconnecting. Use your phone to take a clear photo showing which wire connects to which terminal. This removes any guesswork during reassembly.
- Disconnect the old batteries. Always remove the negative (black) wire first, then the positive (red). Handle each battery with both hands and place it on a flat, stable surface.
- Clean the battery compartment. Wipe away any corrosion or dust using a dry cloth. Corroded terminals can be gently cleaned with a cotton bud and a tiny amount of bicarbonate of soda mixed with water, then dried thoroughly.
- Install the new batteries. Connect the positive (red) terminal first, then the negative (black). Ensure connections are firm but not overtightened.
- Reassemble and restore power. Replace the panel or seat, restore the mains supply, and allow the batteries to charge for at least eight hours before use.
- Test the lift. Run it through several full trips to confirm smooth, consistent operation.
Always park on charger, clean contacts and the rail regularly, and arrange annual service checks that include a voltage reading. Avoid leaving the lift in cold environments or making frequent short trips without returning to the charging point.
For more detail on how lifts are safely set up in UK homes, read our guide to safe stair lift installation. Old batteries must be disposed of responsibly. UK councils and most battery retailers accept SLA batteries for recycling free of charge under the Battery Directive rules.
Pro Tip: After fitting new batteries, run the lift slowly for the first few trips. New SLA batteries benefit from a gentle break-in period, which helps them reach full capacity sooner.
Afterwards: Verifying, maintaining and saving on costs
Once your new battery is in place, these steps ensure everything works smoothly and ongoing costs are kept under control.
Start with a thorough post-replacement check:
- Confirm the lift travels the full length of the rail without hesitation
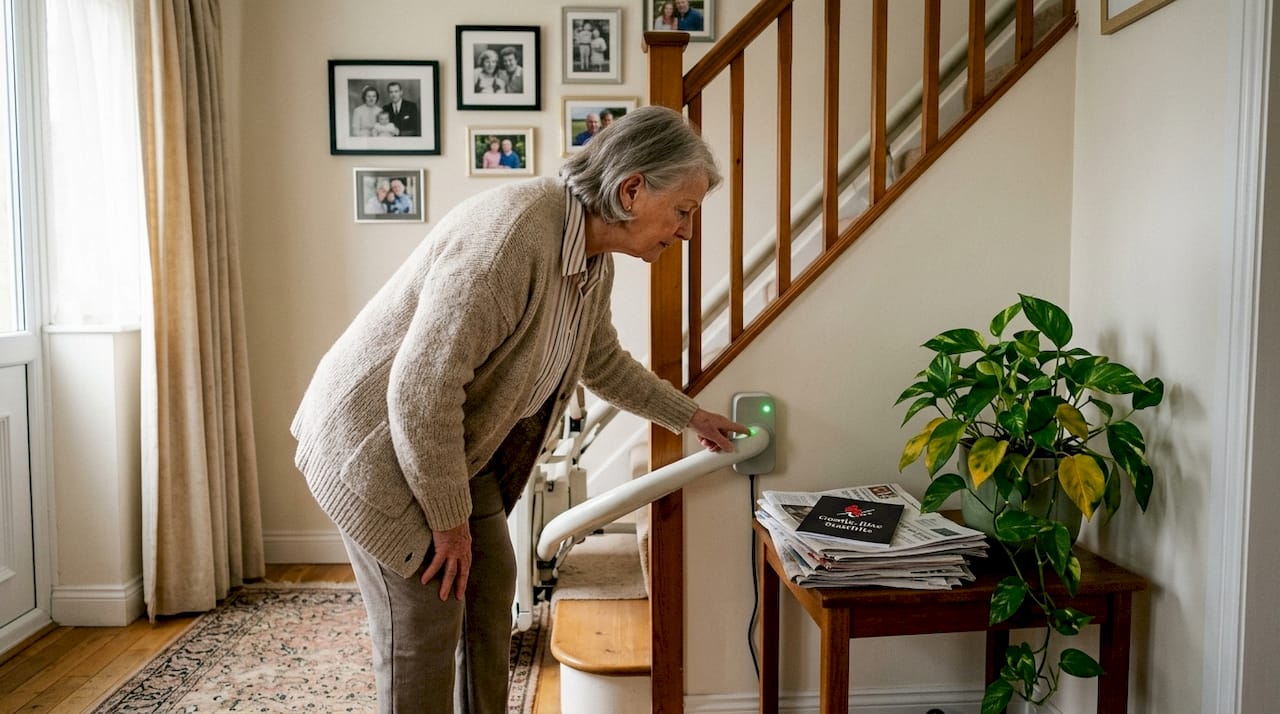
- Check that the charging indicator light shows green after the lift is parked
- Listen for any unusual grinding or clicking sounds during movement
- Verify that safety sensors on the footrest and arms respond correctly
- Test the remote controls and call buttons at both landings
Long-term battery health depends on daily habits more than anything else. Parking the lift at its charging point whenever it is not in use is the single most effective thing you can do. Leaving a stair lift on the staircase, away from its charger, drains the battery unnecessarily and shortens its working life significantly.
Here is a summary of typical running costs to help you budget:
| Expense | Estimated annual cost |
|---|---|
| Electricity for charging | £20 to £50 |
| Battery replacement cycle | £60 to £150 |
| Routine service visit | £80 to £150 |
| Total annual running cost | £150 to £300 |
Annual running costs of £150 to £300 include battery cycles and electricity at around £20 to £50 per year, which is a manageable figure for most households when planned in advance.
Service plans spread these costs predictably and often include priority call-out, which removes anxiety about unexpected breakdowns. If you want to explore affordable mobility solutions more broadly, there are options to suit most budgets. For a full breakdown of what to expect, the UK stairlift costs page covers everything clearly.
Routine maintenance means always parking on the charger, cleaning contacts and the rail regularly, and arranging annual service checks that confirm voltage is within the safe operating range. Avoiding cold storage areas and limiting short, repeated trips without a charge also makes a measurable difference to battery longevity.
Why battery care is the hidden key to stair lift reliability and safety
Here is an uncomfortable truth the industry rarely highlights: the vast majority of stair lift callout visits are not caused by mechanical failure. They are caused by neglected batteries. We see it repeatedly. A lift that has been working perfectly for four years suddenly stops, and the owner assumes the motor has gone or something structural has failed. In almost every case, it is simply a pair of batteries that have quietly reached the end of their working life without any warning the owner recognised.
The real cost of neglect is not the £100 to £250 replacement fee. It is the moment someone is stranded mid-staircase or, worse, avoids using the lift altogether because it feels unreliable. That loss of confidence in the lift often leads to reduced mobility and increased fall risk throughout the home.
Choosing a professional service plan over sporadic DIY fixes is not just about convenience. It is about having someone who knows your specific lift model, monitors its battery health proactively, and catches problems before they become emergencies. If you are weighing up your options, choosing a reliable stairlift starts long before the installation day. It starts with the ongoing care plan you commit to from day one.
Reliable stair lift help when you need it
If this guide has raised questions about your current stair lift's battery condition, or if you are looking for a lift that comes with dependable aftercare built in, we are here to help. At GentleRise Stairlifts, we provide professional battery assessments, routine servicing, and full replacement options across the UK. Our Protect+ maintenance programme covers annual service visits, priority call-out, and peace of mind for a straightforward yearly fee.

Whether you need a one-off battery check, a service plan, or want to explore reconditioned and new stairlift options at prices starting from £795, our team makes it simple. You can also find a full breakdown of stairlift costs and discover how we can enhance accessibility in your home. Book a free home survey today and let us keep you moving safely.
Frequently asked questions
How long does a stair lift battery last?
Stairlift batteries typically last three to five years, though regular use, charging habits, and temperature all affect how quickly they degrade. Parking the lift on its charger after every use is the simplest way to maximise battery life.
Can I replace a stair lift battery myself?
DIY replacement risks warranty coverage and personal safety, though it can save on labour costs for older models. For lifts still under warranty or those using lithium-ion batteries, a professional service visit is strongly recommended.
What happens if there is a power cut?
Stair lifts can typically complete a few trips on battery power during a power cut, as the batteries hold enough reserve charge for short-term use. Once mains power returns, simply park the lift at its charging position and allow a full recharge before relying on it again. Power cuts allow limited trips, and the battery itself may be excluded as a wear item under some warranty agreements.
How much does it cost to replace a stair lift battery?
Annual running costs of £150 to £300 factor in battery replacement cycles, with a single professional call-out for battery replacement typically costing between £100 and £250. DIY options using compatible SLA batteries can reduce this cost significantly if carried out safely.