
TL;DR:
- Curved stairs are an attractive but complex architectural feature requiring precise measurements, expert calculations, and structural planning to ensure safety and compliance. Proper design involves detailed geometry, material selection, and early engineering consultation, with each tread individually cut to fit its specific position. Thorough verification and code adherence are essential to create a durable, safe staircase that balances aesthetics and functionality effectively.
Curved stairs are one of the most striking architectural features you can add to a home. They are also one of the most technically demanding. Without proper step by step curved stair planning, even experienced DIY enthusiasts can find themselves dealing with uneven risers, unsafe tread depths, or costly structural rework that could have been avoided. This guide takes you through every stage of the process, from initial measurements and geometry to construction preparation and final safety checks, so you can approach your project with confidence and clarity.
Table of Contents
- Key takeaways
- Step by step curved stair planning: what you need first
- Design and layout: the geometry behind the curve
- Construction preparation and common challenges
- Verification, safety checks, and final adjustments
- What I have learned from curved stair projects
- How Gentlerisestairlift can help with your curved staircase
- FAQ
Key takeaways
| Point | Details |
|---|---|
| Measure before you design | Accurate floor-to-floor height, stair width, and curve radius must be gathered before any design work begins. |
| Use a curved stair calculator | Specialist calculation tools remove guesswork from arc length, tread distribution, and step angles. |
| Involve an engineer early | Structural load distribution in curved stairs differs from straight stairs and needs professional input from the start. |
| Cut each tread individually | Tread openings vary across a curved flight, so each one must be measured and cut to fit its specific position. |
| Check riser consistency | Building codes require riser height variation to stay within 3/8 inch across the full flight to pass inspection. |
Step by step curved stair planning: what you need first
Before you draw a single line or order any materials, you need to gather precise data and the right tools. Skipping this stage is the single biggest reason DIY curved stair projects run into trouble.
Key measurements to take
Every curved staircase calculation starts with four core measurements.
- Floor-to-floor height: The total vertical distance your stairs must cover, measured in millimetres or inches from finished floor to finished floor.
- Stair width: How wide the flight will be, which affects both comfort and the calculation of inner and outer tread lengths.
- Radius of the curve: The distance from the centre point of the circle your staircase follows to the inner edge of the stair.
- Total curve angle: The number of degrees your staircase sweeps through, whether that is 90 degrees, 180 degrees, or a full spiral at 360 degrees.
Tools and materials overview
For planning, you will need a measuring tape, a digital angle finder, a spirit level, and access to a curved stair calculator. Design software such as SketchUp or AutoCAD is worth using if you are comfortable with it. On the materials side, your main structural decision is whether to use timber, steel, or a combination. Timber is the most common choice for residential builds. Steel or concrete are specified when spans are large or the design is particularly bold.
| Measurement or tool | Why it matters |
|---|---|
| Floor-to-floor height | Determines total number of steps and riser height |
| Curve radius | Defines arc length and tread geometry |
| Total angle of sweep | Affects number of steps and tread distribution |
| Digital angle finder | Confirms actual angles on site vs. drawing |
| Curved stair calculator | Calculates arc length and step dimensions accurately |
| Spirit level | Verifies horizontal accuracy of each tread |
Residential curved stairs require a rise of 6.5 to 7.75 inches and a tread depth of 10 to 12 inches measured at the walk line, which sits 12 inches from the inner edge of the stair. These figures are not suggestions. They are the limits within which your design must work.
Pro Tip: Take all measurements twice, on different days if possible. Floors are rarely perfectly level, and walls are not always plumb. Small errors at this stage compound dramatically once you start cutting materials.
Design and layout: the geometry behind the curve
This is where curved stair planning separates itself from straight stair work. Complex circular geometry governs how each step is calculated, and rushing it creates problems that are expensive to fix later.
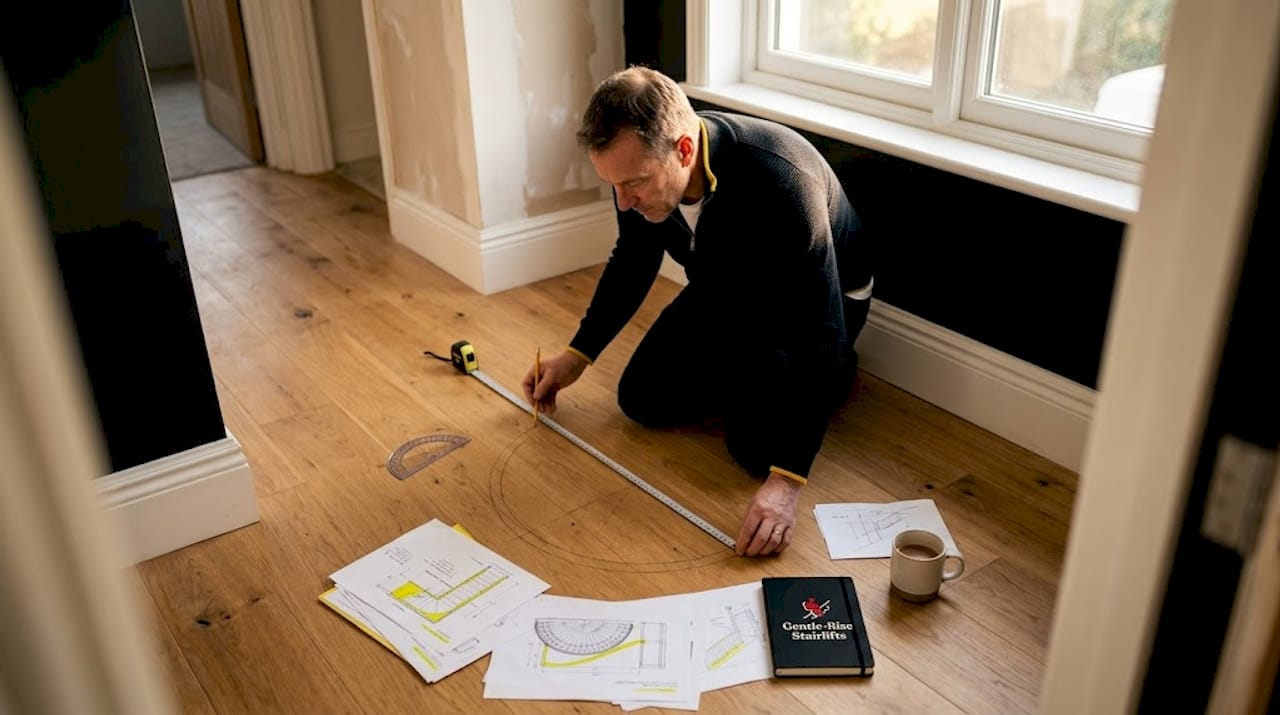
Calculating your steps
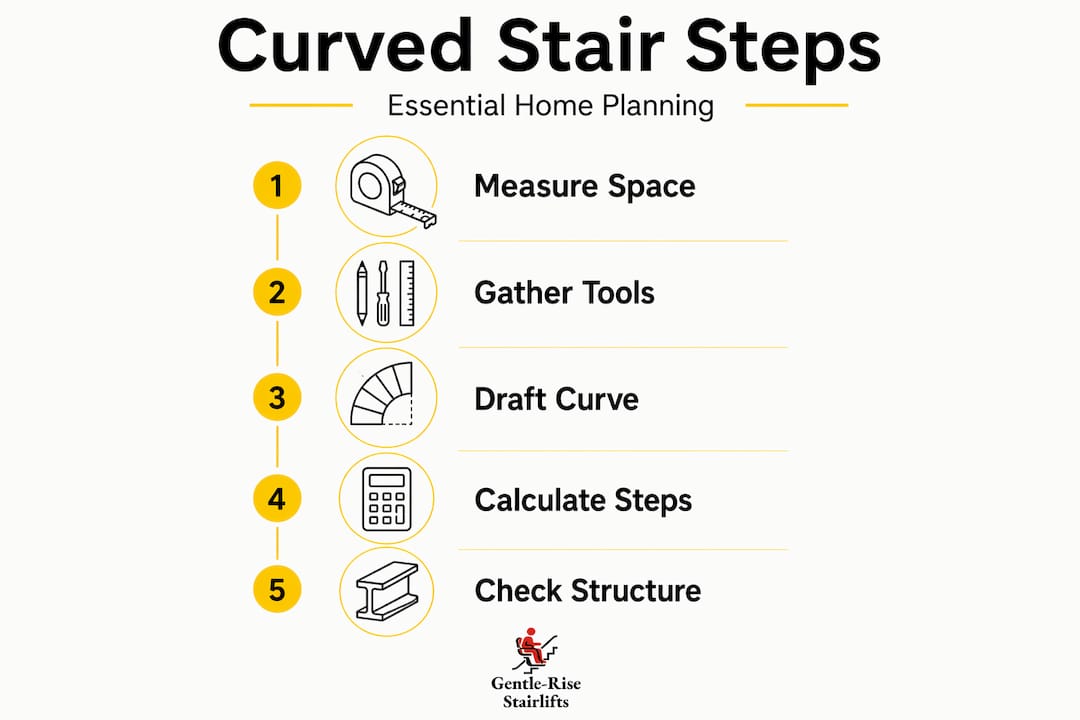
Follow this sequence to work through the design stage methodically.
- Divide the total rise. Take your floor-to-floor height and divide it by your target riser height. If your total rise is 2,800 mm and you aim for a 175 mm riser, you get 16 steps. Round to the nearest whole number and recalculate the exact riser height.
- Calculate the arc length. Multiply your curve radius by the total angle in radians (degrees multiplied by π/180). This gives you the total arc length your staircase travels along.
- Find the tread depth at the walk line. Divide the arc length by the number of steps. This figure must fall between 250 mm and 300 mm (approximately 10 to 12 inches) to meet residential code requirements.
- Check inner and outer tread lengths. The inner edge of each tread will be considerably shorter than the outer edge on a curved stair. Calculate both using their respective radii. The outer tread can sometimes exceed comfort limits, which affects how you set the total stair width.
- Calculate the angle per step. Divide the total curve angle by the number of steps. Each step subtends this angle, which determines the wedge shape of every tread.
- Verify with a calculator tool. A reliable stair calculator confirms your manual calculations and highlights where dimensions fall outside safe ranges.
| Calculation | Formula or reference value |
|---|---|
| Number of steps | Total rise ÷ target riser height |
| Arc length | Radius × (angle in degrees × π/180) |
| Tread depth at walk line | Arc length ÷ number of steps (target: 250–300 mm) |
| Angle per step | Total curve angle ÷ number of steps |
| Riser height | Total rise ÷ number of steps (target: 165–195 mm) |
Pro Tip: Label each step position on your plan before fabrication. Uniformity in riser height is not just about comfort. Inconsistent risers are the leading cause of trips on staircases, and building inspectors will measure every single one.
For a practical reference on integrating this planning into a broader home project, the home mobility planning guide from Gentlerisestairlift covers how design decisions feed into long-term accessibility.
Construction preparation and common challenges
Getting the geometry right on paper is only half the battle. The construction preparation phase is where many DIY curved stair installation projects hit unexpected difficulties.
Structural considerations
Load distribution changes significantly in a curved staircase compared to a straight flight. The curved geometry introduces lateral forces and torsional stress that a straight stringer does not experience. This means deflection control needs to be designed in from the beginning, not added as an afterthought. If your staircase spans any significant distance or uses heavier materials like stone or thick hardwood, involve a structural engineer before fabrication begins.
"Homeowners should involve professional engineering early in the home build phase for seamless integration and durability of curved stairs." — Southern Staircase
The connection points between the staircase and the building structure also need careful planning. Curved stairs typically attach at the top landing, bottom landing, and sometimes at mid-flight. Each attachment point must be capable of handling both vertical load and the lateral forces the curved geometry introduces.
Fabrication and tread cutting
Because the stair curves, each tread opening varies across the full flight. You cannot cut a batch of identical treads and expect them to fit. Each one must be templated and cut to its specific position. This is time-consuming but non-negotiable if you want a clean result.
If you are using specialist materials such as curved glass panels for balustrades or fabricated metal stringers, coordinate with specialist fabricators before you finalise your structural design. Lead times for these components can add weeks to your project. A custom curved staircase typically takes between 4 and 8 weeks from design through to completed installation, so planning your supply chain early prevents delays.
Common pitfalls to avoid
- Uneven riser heights caused by inaccurate floor-to-floor measurement at the start.
- Tread depths that fall below code minimum at the walk line due to a radius that is too tight.
- Insufficient support at mid-flight, leading to bounce or flex underfoot.
- Railing attachment points that were not planned into the structural frame, requiring remedial drilling into finished materials.
- Open risers that look striking but create a trip hazard on steep curves. Closed risers are the safer choice for most residential curved stairs.
Pro Tip: If you are considering a veranda installation or other external structure alongside your stair project, plan both in the same construction phase. Sequencing work reduces disruption and allows foundation and structural elements to be coordinated from the outset.
Railing style also affects the overall feel of the staircase considerably. Clean glass or minimal metal railings keep attention on the curve of the stair itself and create a lighter, more open feel, particularly in hallways with limited natural light.
Verification, safety checks, and final adjustments
Once fabrication is complete and installation is underway, a structured verification process is what separates a safe staircase from a liability.
What to check before signing off
- Riser height consistency: Riser height must not vary by more than 3/8 inch across the entire flight to meet building code. Measure every riser, not just a sample.
- Tread depth at the walk line: Confirm that every step meets the minimum 10-inch tread depth at the 12-inch walk line position.
- Stair width: The minimum clear width for residential stairs in the UK is 800 mm, though 1,000 mm or more is preferable for comfort and future accessibility.
- Railing height and continuity: Railings must be continuous from the bottom newel to the top. Standard UK residential railing height is between 900 mm and 1,000 mm above the pitch line.
- Structural stability: Walk the full flight and test for any movement, flex, or creak. Both mid-flight bounce and railing wobble are signs of attachment or support issues that need resolving before sign-off.
| Checkpoint | Standard or target value |
|---|---|
| Riser height variation | No more than 3/8 inch (9.5 mm) across full flight |
| Tread depth at walk line | Minimum 250 mm (10 inches) |
| Stair width (clear) | Minimum 800 mm, ideally 1,000 mm+ |
| Railing height | 900–1,000 mm above pitch line |
| Structural deflection | No perceptible flex underfoot or at railing |
For curved stairs with a complex radius or significant height, revisit the recommendation to have your structural engineer review the completed installation as well as the design. This is not a bureaucratic step. It is the difference between a staircase that lasts 50 years and one that develops problems at the first sign of heavy use. The step by step approach to stairway adaptation outlined by Gentlerisestairlift is also worth reviewing at this stage if you are thinking about future accessibility needs.
What I have learned from curved stair projects
I have seen homeowners treat curved stair projects the same way they approach flat-pack furniture. They assume the complexity is manageable with a weekend and a YouTube tutorial. The honest reality is that curved stairs occupy a different category entirely.
The geometry alone is something that catches people off guard. Straight stairs involve arithmetic. Curved stairs involve trigonometry, radius calculations, and tread geometry that changes at every step position. I have watched confident DIY enthusiasts spend two weekends re-cutting treads because the initial radius was set 50 mm too tight, making every tread depth at the walk line fall below code minimum.
What I have found actually works is treating the design phase as the most important phase, not the most tedious one. Get your measurements right. Run your numbers through a dedicated calculator. Then have someone else check them before you order a single piece of timber. The cost of having a structural engineer review your plan is a fraction of the cost of a rebuild.
My other firm belief is that design decisions made for aesthetics need to be tested against function at every point. Curved stair aesthetics matter, but a beautiful staircase that fails a building inspection or produces an uneven stride is not a success. Precision and patience, applied in the right order, are what make curved stairs worth every penny.
— lee
How Gentlerisestairlift can help with your curved staircase
Once your curved staircase is planned and built, the next question for many homeowners is how to keep it accessible for everyone in the household, now and in the future.

Gentlerisestairlift specialises in fitting stairlifts to curved staircases of all shapes and radii. The team conducts free home surveys to assess your specific stair geometry and recommends the right solution without obligation. Whether you need a permanent curved stairlift installation or a short-term rental during recovery from surgery, Gentlerisestairlift has options designed to work with the staircase you have built. Their Protect+ aftercare plan also keeps your stairlift running safely long after installation day. Contact Gentlerisestairlift to book your free survey and find the right solution for your home.
FAQ
How long does curved stair planning and installation take?
From initial design through fabrication to completed installation, a custom curved staircase typically takes 4 to 8 weeks. Complex designs with specialist materials can extend this timeline further.
What is the walk line and why does it matter?
The walk line is an imaginary line running 300 mm (12 inches) from the inner edge of the stair. Building codes require tread depth to be measured at this point, where most foot traffic actually falls, rather than at the widest outer edge.
Do I need an engineer for a curved staircase?
Yes, in most cases. Curved stairs carry structural loads differently from straight stairs, and professional engineering input early in the project prevents costly structural problems during or after construction.
What materials are best for curved stairs?
Timber is the most common choice for residential curved stairs due to its workability and appearance. Steel stringers with timber treads offer greater span capability. The choice depends on your design, budget, and structural requirements.
How much variation in riser height is allowed under UK building regulations?
Riser height must remain consistent within 3/8 inch (approximately 9.5 mm) across the full flight. Inspectors will measure every riser during sign-off.