
TL;DR:
- Preparing your home early helps reduce fall risks and creates a safe environment for recovery. Small modifications, such as removing trip hazards and installing grab bars, significantly improve safety and accessibility during recovery. Using appropriate mobility aids and establishing structured routines support independent movement and faster healing.
Preparing your home for recovery mobility means creating a safe, accessible environment that reduces fall risk and supports independent movement after surgery or a mobility impairment. The process involves far more than tidying up. It requires deliberate changes to your living space, the right mobility aids for home, and a clear plan for daily routines. Occupational therapists and universal design principles both confirm that early preparation produces measurably better outcomes. This guide covers every stage, from pre-surgery planning to accessible home modifications that feel natural rather than clinical.
What steps should you take to prepare your home for recovery mobility?
The single most effective thing you can do is start preparation early. Industry guidance recommends beginning 4–6 weeks before surgery. That window gives you time to arrange modifications, source equipment, and test everything before you actually need it.
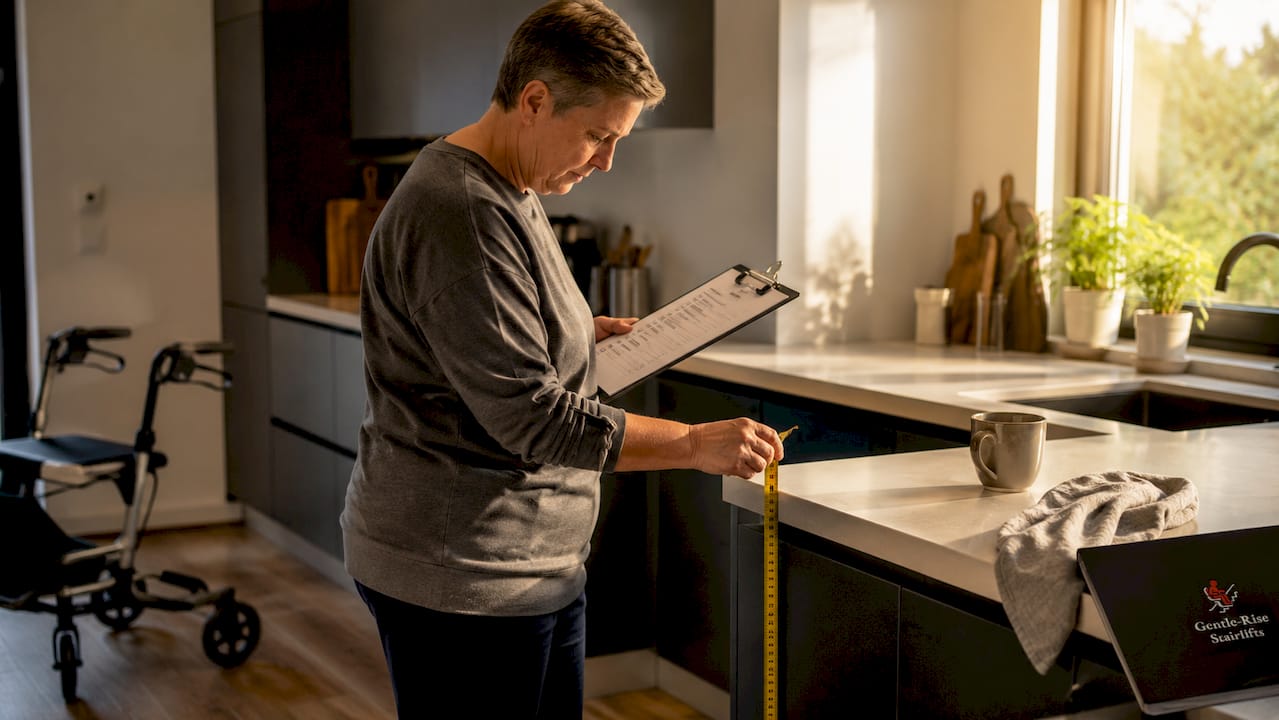
Walk through your home with a recovery mindset. Imagine moving with a walker, crutches, or reduced balance, and note every obstacle. Pay particular attention to narrow doorways, loose rugs, low furniture, and poor lighting. These are the hazards that cause the most falls during the first weeks home.
A structured pre-recovery checklist covers the following priorities:
- Clear walking paths between your bedroom, bathroom, and kitchen. Remove furniture that blocks direct routes.
- Raise frequently used items to waist height. Bending to floor level or reaching overhead strains healing joints and risks a fall.
- Install nightlights in corridors, the bathroom, and at the top and bottom of any stairs. Most falls happen at night.
- Set up a recovery station near your main rest area. Stock it with water, medications, a phone charger, and any items you reach for repeatedly. A dedicated recovery station reduces unnecessary movement and eases the mental load of difficult days.
- Arrange a ground-floor sleeping area if possible. Moving your bedroom to the main floor eliminates stair navigation entirely during the most vulnerable phase of recovery.
- Book an occupational therapist assessment before surgery. An OT can identify hazards you will miss and recommend modifications specific to your diagnosis and home layout.
Pro Tip: Ask your OT to walk through the home with you in person rather than completing a phone assessment. Physical presence reveals hazards that photographs and descriptions miss.
How can you adapt your home environment to reduce fall risk?
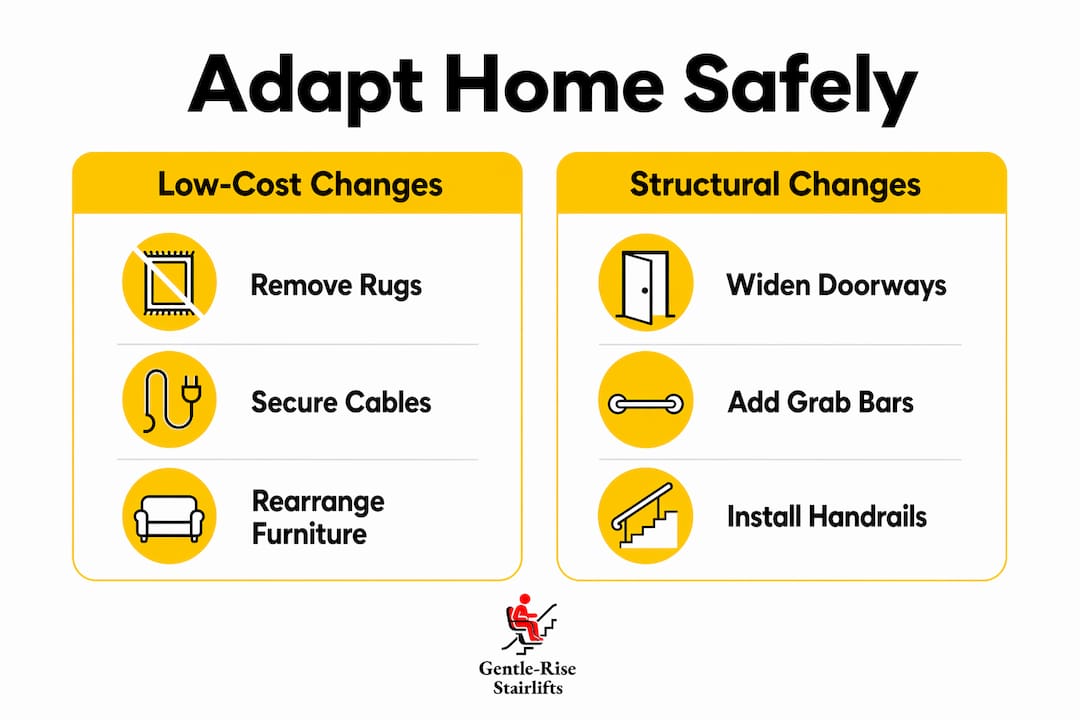
Accessible home modifications fall into two categories: low-cost changes you can make this weekend, and structural changes that require a professional. Both matter.
Remove trip hazards first
Loose rugs are the leading cause of falls in recovery. Remove them entirely or secure them with non-slip backing and double-sided tape. Tuck or tape down all electrical cords that cross walking routes. These two changes cost nothing and take under an hour.
Address doorways and thresholds
Standard doorways measuring 28–30 inches are too narrow for most walkers and wheelchairs. A minimum of 32 inches is required for basic access; 36 inches is preferred for comfortable movement. If widening doorways is not feasible, offset hinges can add up to 2 inches of clearance without structural work.
Thresholds deserve equal attention. A flush, flat threshold no higher than half an inch prevents trips for anyone using a mobility device. Even a single step at an entry point can block access for a walker or wheelchair entirely. A zero-step or ramped entry removes that barrier completely.
Install grab bars and handrails
Grab bars in the bathroom and handrails on both sides of staircases are non-negotiable for safe home recovery. Professional installation costs between £150 and £400 per bar and must anchor into wall studs, not adhesive mounts alone. Adhesive-only bars carry a real risk of pulling free under body weight.
The table below summarises the most impactful room-by-room modifications:
| Room | Modification | Primary benefit |
|---|---|---|
| Bathroom | Grab bars beside toilet and shower | Prevents falls during transfers |
| Hallway | Motion-sensor lighting | Reduces night-time fall risk |
| Bedroom | Bed raised to chair height | Eases standing and sitting |
| Entry | Ramp or zero-step threshold | Enables walker and wheelchair access |
| Kitchen | Items moved to waist height | Eliminates unsafe bending and reaching |
Pro Tip: Choose grab bars with a textured or satin finish rather than polished chrome. They provide a firmer grip when hands are wet and blend more naturally into bathroom décor.
Rearrange furniture to create clear, wide routes between rooms. Chairs with arms are significantly safer than armless sofas for anyone recovering from lower-limb surgery, as they provide a stable push-off point when standing.
Which mobility aids are most beneficial for home recovery?
The right mobility aid depends on your diagnosis, your weight-bearing restrictions, and your home layout. The most common options are walkers, rollators, wheelchairs, and lift chairs. Each serves a distinct purpose.
A standard walker provides maximum stability and suits the earliest phase of recovery when balance is most compromised. A rollator, which has wheels and a built-in seat, suits people who can bear more weight and need to cover longer distances indoors. A wheelchair is necessary when weight-bearing is not permitted at all.
The walker-first technique is the safest approach for initial mobility. Always push up from a stable surface such as a bed or chair before reaching for the walker. Never pull on the walker to stand. Pulling shifts the walker's weight forward and risks a fall before you are even upright.
A lift chair is one of the most underrated pieces of recovery equipment. It rises to assist standing and lowers gently for sitting, which removes the most physically demanding movement of the day for anyone recovering from hip or knee surgery. Position it in the room where you spend most of your time.
The table below outlines equipment by room and purpose:
| Room | Equipment | Purpose |
|---|---|---|
| Bedroom | Bed rail or grab bar | Safe transfer in and out of bed |
| Bathroom | Shower chair, grab bars | Seated bathing, fall prevention |
| Living area | Lift chair | Assisted standing and sitting |
| Hallway | Walker or rollator | Stable movement between rooms |
| Stairs | Stairlift | Safe, effortless stair navigation |
- Position your walker or rollator beside the bed before you sleep, not across the room.
- Keep a spare mobility aid on each floor if your home has stairs.
- Check all equipment weekly for loose screws, worn rubber feet, and wheel function.
Pro Tip: Rubber ferrules on walker legs wear down faster than most people expect. Replace them every 3–4 months during active use, or sooner if you notice any slipping.
For stair accessibility during recovery, a stairlift is often the safest and most practical solution, particularly when moving your bedroom to the ground floor is not possible.
How do you build safe daily routines to support recovery at home?
Consistent, planned movement produces better recovery outcomes than sporadic effort. Short, frequent walks throughout the day support stronger recovery than a single long walk that risks fatigue and injury. Aim for several short, steady periods of movement rather than one extended session.
"The mental load of recovery is often underestimated. A well-organised home and a clear daily routine reduce the decisions you need to make when you are tired and in pain. That reduction in cognitive demand directly supports physical healing."
Build your daily routine around these principles:
- Plan movement in advance. Decide when you will walk, when you will rest, and when you will eat. Unplanned movement is where accidents happen.
- Organise help for key tasks. Meals, medication management, transport to appointments, and household tasks all need a named person responsible during the first weeks.
- Set up a check-in system. In the first 72 hours after discharge, a family member or carer should check in at least twice daily. A personal alarm or emergency response device provides additional security when you are alone.
- Protect your mental wellbeing. Recovery is slow and frustrating. Short goals, such as reaching the kitchen and back independently, build confidence without overloading healing tissue.
Pro Tip: Place a small whiteboard or notepad near your recovery station. Write your daily movement goals and medication times on it each morning. Visible plans reduce the mental effort of remembering and keep you on track.
Adapting your home for therapy means thinking about the full day, not just the moments of movement. Rest, nutrition, and social contact all affect how quickly you regain mobility.
Key takeaways
Preparing your home for recovery mobility requires early action, targeted modifications, the right equipment, and a structured daily routine to reduce fall risk and support independent movement.
| Point | Details |
|---|---|
| Start 4–6 weeks early | Begin modifications before surgery to allow time for installation and adjustment. |
| Remove trip hazards first | Secure or remove loose rugs and trailing cords before any other change. |
| Match aids to your needs | Choose between walkers, rollators, and lift chairs based on your weight-bearing restrictions. |
| Use the walker-first technique | Always push up from a stable surface before reaching for a walker to prevent falls. |
| Plan your support system | Assign named helpers for meals, medication, and check-ins during the first weeks home. |
What I have learned from watching people come home after surgery
The preparation that makes the biggest difference is rarely the most expensive. I have seen beautifully adapted homes where the person still fell, because nobody had thought to move the phone charger to the bedside table. And I have seen very modest homes where someone recovered confidently, because every small detail had been thought through in advance.
The hazard most people overlook is lighting. Not the absence of it, but the quality of it. A dim lamp in the corner of a room creates shadows that distort depth perception, particularly for anyone on post-operative medication. Motion-sensor lights that activate at ankle height are far more effective than ceiling lights switched on from across the room.
The other thing I would say plainly: involve an occupational therapist before you make any structural changes. I have spoken to people who spent money widening a doorway that did not need widening, while leaving a genuinely dangerous threshold untouched. An OT assessment costs far less than a fall and a second hospital admission.
Accessible design does not have to look clinical. Universal design principles have produced grab bars that look like towel rails and ramps that blend into garden landscaping. The goal is a home that supports you without announcing that it does. That is entirely achievable, and it is worth planning for properly.
— lee
Stairlift solutions from Gentlerise Stairlifts
Stairs are one of the most significant barriers to safe home recovery, particularly in the first weeks after surgery. Gentlerise Stairlifts provides straight, curved, and reconditioned stairlift models, with prices starting at £795 and installation often completed within hours.

Whether you need a permanent solution or a short-term rental during recovery, Gentlerise Stairlifts offers flexible options backed by the Protect+ aftercare programme. A free home survey takes the guesswork out of choosing the right model. Visit Gentlerise Stairlifts to book your survey and find the right stairlift for your home.
FAQ
How far in advance should I prepare my home for surgery recovery?
Begin home preparation 4–6 weeks before surgery to allow enough time for modifications, equipment sourcing, and any professional installation work.
What is the minimum doorway width needed for a walker or wheelchair?
A minimum of 32 inches is required for basic mobility aid access, with 36 inches recommended for comfortable, unrestricted movement through doorways.
How do I use a walker safely when standing up?
Always push up from a stable surface such as a bed or chair first, then reach for the walker. Pulling on the walker to stand shifts its weight forward and risks a fall.
Do I need to remove all rugs from my home during recovery?
Loose rugs should be removed entirely or secured with non-slip backing and double-sided tape. They are the most common trip hazard for people using mobility aids indoors.
Can I get a stairlift on a short-term basis for recovery?
Gentlerise Stairlifts offers rental options for people who need temporary stair access during recovery, providing a practical alternative to permanent installation.